Friday, March 22, 2013

My Weight Loss Miracle

A cheese omelet with a big side of bacon. A pizza casserole oozing with cheese and pepperoni and ground beef. Chicken and spinach in a heavenly heavy cream sauce. I ate all these things and lost over 10 lbs in a week. How is that possible? Read on, my friends.

I am the type of girl who holds weight pretty steadily. I seem to stay the same weight regardless of what I eat or how many times I go to the gym. This seems like an ideal situation unless you're not at a weight you're happy with. After having a baby this past year, I settled in on a weight I wasn't all that happy with. I tried watching my calorie intake and spent a consistent 2 months going to the gym 2-3 times per week (did I mention I hate going to the gym? Mostly because my goal is weight loss and I never see results...). You guessed it, that scale didn't budge.

Plus, I love to eat!

I ran across this book called Trim Healthy Mama by Serene Allison and Pearl Barrett. It just came out September 2012. Let me start now by saying if you've not had lasting success with other weight loss programs you really need to get this book.


It goes into a lot of detail about the science around food and what happens in our bodies when we eat different combinations of foods. Their method boils down to not eating fats and carbs in the same meal and always having it centered around a protein. The goal is to keep your blood sugar from spiking which causes insulin to work overtime and store the excess glucose in your fat cells. Eating a fat centered meal doesn't make you fat if there aren't the carbs there spike your blood sugar. Your body uses the fat you consumed to fuel your body and then it starts taking from your stores (you know, around your waist, hips, butt, all those areas you try so hard to slim down) and uses that for energy. Similarly, if you eat a meal with carbs (they suggest keeping it below 45 grams a meal and nix the simple carbs like white bread and sugar), your body will use those to fuel your body. Don't give it fats as well otherwise your body will store it for later and not burn through all those supplies you've already stocked up!

That's the main gist but you'll have to read the book for all the enlightening, juicy details.

Let me give you a little example of a typical day as a Trim Healthy Mama.

Breakfast:
Three egg omelet with spinach and cheese with a side of bacon

Snack:
Cup of fat free Greek Yogurt with frozen berries

Lunch:
Roast beef sandwich with one slice of whole wheat bread, one slice of skim mozzarella, horseradish, and fresh spinach with a side of red and yellow peppers.

Snack:
A shake made with almond milk, frozen berries and a scoop of chocolate protein powder.

Dinner:
Chicken Florentine in a heavy cream sauce with a side salad topped with creamy blue cheese dressing.

No feeling of deprivation there! And can you believe I weighed less the next morning?

If you're going to switch from fat to carbs in the same day (like I did above with lunch), make sure it's at least three hours since you ate last. My snacks don't count because neither of them have fat nor carbs and are pure protein.

The book has a TON of recipes for you to choose from, and yes, they are a little crunchy. The beauty is that once you understand the premise, you can adapt your own usual recipes to fit into the method. Here are a couple great ones to try!

S meals (S for Satisfying, they're the ones with fats):


Cream Cheese Pancakes


 E Meals (E for Energizing, they're the ones with 45g or less of carbs): 


Oatmeal with fresh fruit


Did any of those meals look like you could eat them and feel like you're dieting? I think not. 

Let me know if I've inspired you to go out and buy the book. Feel free to share some of your favorite S and E meals with me too!


Wednesday, March 13, 2013

Cooking 101: Resting Meat

How important is resting your meat after cooking? Does it really make a difference?


Water is stored in the muscle fiber of meat, or myofibrils. When heat is applied to the meat, the myofibrils contract, expelling water from the cells. When you allow the meat to rest after cooking, the juices are able to reabsorb into the myofibrils leaving you with a moist, juicy bite. If you cut into the meat right out of pan, all those juices run and are lost.

In an experiment done by Cook's Illustrated, they cooked 5 boneless pork loins in a 400° oven until the internal temperature reached 140°. One was cut as soon as it was pulled out of the oven and the remainder were tented with foil and allowed to rest for 10, 20, 30 and 40 minutes.

The roast cut immediately lost 10 tablespoons of liquid. The roast allowed to rest 10 minutes lost 4 tablespoons of liquid. The 20 minute roast lost 2.5 tablespoons, the 30 minute lost 1 tablespoon and the 40 minute lost 2 teaspoons. Tasters said the 10 minute roast was much juicier than the roast cut immediately (which was described as tough and dry). They didn't notice much difference between the 30 and 40 minute roasts.

The difference between the roast immediately cut and the one allowed to rest 10 minutes is obvious. We can all stand to wait a few extra minutes before eating if it means the difference between dry and tough or moist and juicy, right?

Here are some suggested resting times for different cuts of meat. Go with the shorter or longer time indicated based on the relative size of the cut you're preparing in the appropriate category:

Beef
  • Steak: 5 to 10 minutes
  • Roast: 15 to 30 minutes
Lamb
  • Chops: 5 to 10 minutes
  • Roast: 15 to 30 minutes
Pork
  • Chops: 5 to 10 minutes
  • Roast: 15 to 30 minutes
Chicken
  • Parts: 5 to 10 minutes
  • Whole: 15 to 20 minutes
Turkey
  • Parts: 20 minutes
  • Whole: 30 to 40 minutes


Cooking 101: Cooking Methods

There are so many different ways to cook and many different proteins. If you're a novice in the kitchen, how do you decide what method to use? Here's a helpful guide to get you started.

Saute: to cook in a shallow pan with a small amount of oil or fat over relatively high heat. This method is best for thinner foods, like steak or pork chops or chicken cutlets.. Since you're using high heat, you're able to get a nice sear on your protein. The key is to have a uniform thickness not much more than an inch. Any more than that and you tend to have a burnt exterior by the time the center of your meat is done.

Roast: to cook using dry heat such as in an oven. This method is typically done with larger cuts of meat and whole birds. When you have a steak, for example, over an inch thick, you would do well to use a mixture of cooking methods such as sauteing first to sear the surface and then finish off by roasting in the oven. (See recipe for How To Cook a Perfect Chicken Breast for an example of this method)

Poach: to cook foods in liquid that is well below the boiling point. There are no bubbles breaking the surface of the liquid. This method is a gentle cooking method for delicate proteins such as eggs and fish.

Simmer: to cook foods in liquid at or just below boiling, but higher than poaching temperature. 

Braise: to cook with a combination of moist and dry heat; to cook by sauteing first, then adding liquid and simmering. Braising is ideal for larger, tough cuts of meat that need prolonged cooking times to become tender. The key to this method is low and slow. The tough connective tissue needs time to break down into gelatin to make it tender but in order for you to have good texture, it needs to be seared first. Otherwise you'll end up with boiled meat. (See recipe for Braised Short Ribs Beef Stew for an example of this method)

Stew: to cook as in braising, except with small chunks of food instead of whole roasts.

Wednesday, March 6, 2013

Cooking 101: Steak

How often does this happen to you? You go to pick up a steak at the supermarket and you see Strip, Porterhouse, Sirloin, Skirt, Flank, Chuck Roast, Top Round, Bottom Round, Ribs, Short Ribs, Loin on and on. What do you pick? How do you cook it?

Here's a diagram where the cuts of beef come from on a cow.


Basically, the farther the cut of meat is from the cow's head or hoof, the more tender it will be. This is because the muscles closer to those areas do the most work and thus build up the most connective tissue making for a tougher piece of meat.

Connective tissue in the muscle, called collagen, will break down and turn into gelatin at 160°F and continue to break down through 180°F. When the collagen has all turned to gelatin, that's when you get that great bite of melt-in-your-mouth, fall-off-the-bone meaty goodness.

So why can't we just cook every piece of beef to 160° and enjoy the succulence? Well, for a rare steak, you want it to only reach 120°-130°F. Well done is 150°-160°F. Most people enjoy a steak somewhere in between. You start losing moisture once you breach 130°F. The key is to cook those tougher cuts low and slow in some sort of liquid, like the braising method, so you can achieve optimum collagen to gelatin exchange without losing it's juiciness.

For a go-to cut of meat to pan sear or grill up, go with a Rib Eye. It has a good amount of marbling which will melt while cooking thus giving you a tender, juicy steak to enjoy.


Here is another view of cuts of beef with their optimal cooking method.


Braised Short Ribs Beef Stew


I love Alton Brown's program Good Eats. Recently I watched an episode and he made some beef stew and it looked so good I had to try it myself.  I mean, just look at this? Doesn't it make your mouth water?


So let's get down to business.

You can find the original recipe here

Ingredients:
1/4 cup tomato paste
1/4 cup apple cider vinegar
1 1/2 teaspoons Worcestershire sauce
1 tablespoon paprika
1 1/2 teaspoons dried herbs, any combination of thyme, oregano and rosemary
3 pounds English-cut short ribs
1 tablespoon plus 1 teaspoon kosher salt, divided
1 large yellow onion, thinly sliced
1 pound red potatoes, unpeeled and diced small
Freshly ground black pepper
1 tablespoon chopped fresh parsley leaves


Gather the first 5 items. I was out of tomato paste so I used some diced tomatoes in their juices. 


Mix everything together in a bowl and set aside.


Pat dry your short ribs and salt them well. 


Sear the short ribs on a hot griddle and brown each side.


Make sure you get a nice deep brown - this is the only browning the meat will get during it's cooking time.


Add the meat to the marinade and then place everything onto a sheet of tin foil and seal up the edges.


Place in a cold oven with a pan underneath to catch any spill over. Now preheat the oven to 250 and set the timer for 4 hours.

Tick...Tock...Tick...Tock...

Ding!


Look how the meat turns out! Tender, shreds easily with a fork and melts in your mouth.

As an aside, the meat turns out like this because the original piece had a lot of connective tissue called collagen. Cooking low and slow causes the collagen to break down into gelatin, turning a relatively tough piece of meat into the sumptuous morsel you see in front of you.


Pour the juices into a glass and refrigerate to separate the fat.

Fast forward to day two.


Put one tablespoon of the separated beef fat into a pan to roast the vegetables in. You can keep the rest of the fat in the fridge to use in cooking later in the week.


Saute mirpoix in the beef fat and add the diced red potatoes.


Add the remaining beef juices.


Cover and simmer on low for 30 minutes until the potatoes soften.


Add the short ribs and warm through for another 10 minutes.


Enjoy!

Friday, March 1, 2013

bareMinerals: The Wild Thing

I was browsing my local ULTA for some new eyeshadow and ran across bareMinerals new collection The Wild Thing. It is great for spring!

Take a look!


The collection contains the following colors:
1. Sensational
2. Icon
3. Elitist
4. Controversy

What are your new fave spring colors?

Polenta Goat Cheese Fries

I was watching some BBC restaurant program and they mention making Polenta Goat Cheese Fries as one of their side dishes. Genius! I had to give it a try. Here's my version of the fries with herb crusted pork tenderloin and green beans.


Ingredients
3 cups water
1 cup corn meal
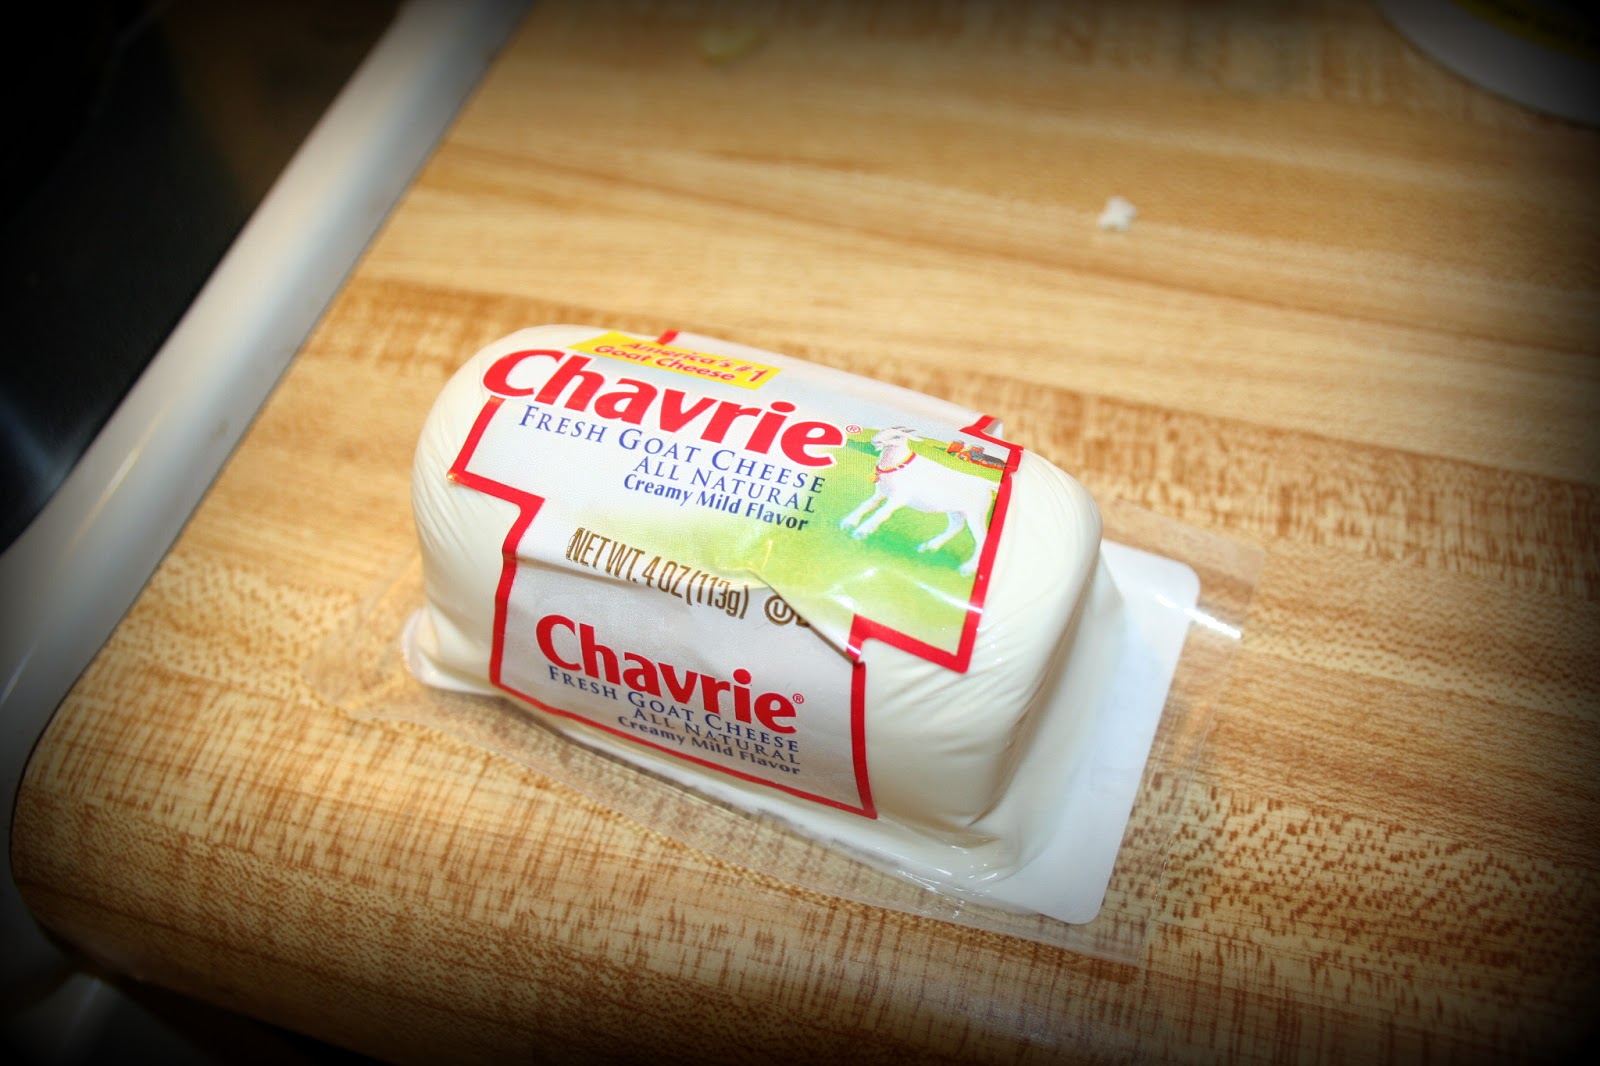
4 oz. goat cheese
Olive oil
Butter
Salt and pepper


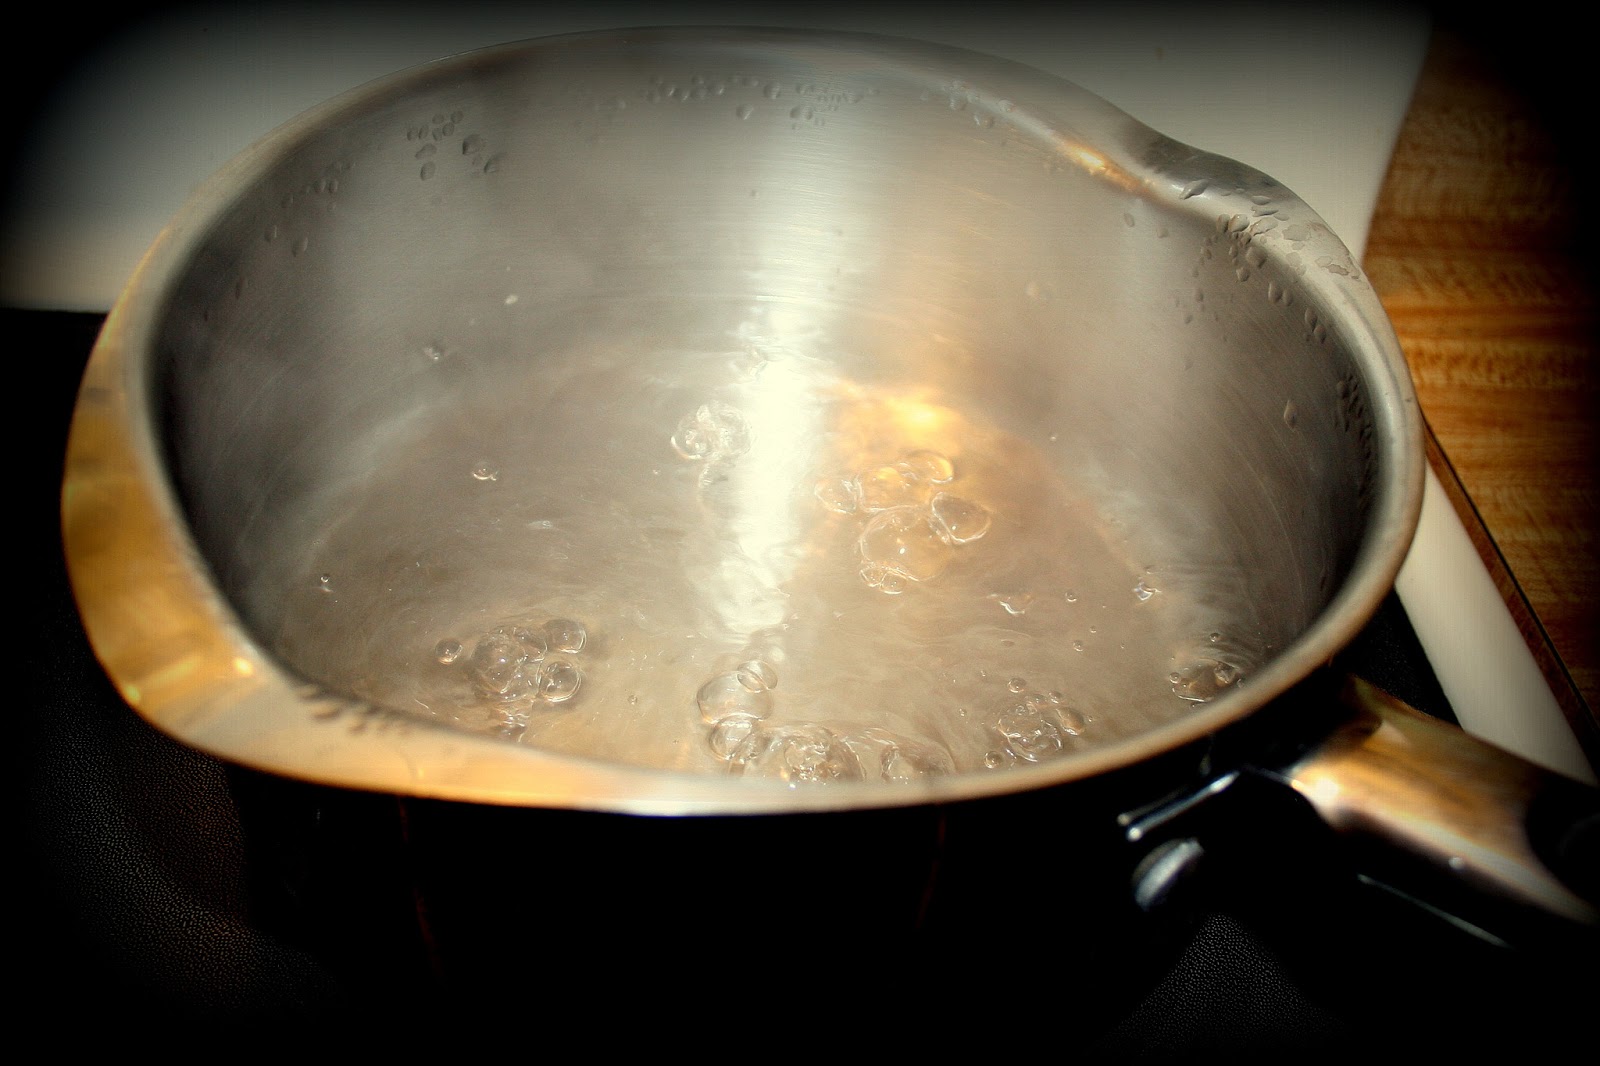
Boil 3 cups of water.


Add 1 cup of cornmeal slowly.


I dumped my cornmeal in and ended up with lots of lumps which took some good elbow grease and my whisk to break up.

Cook while stirring constantly for about 15 minutes until nice and thick. If you think yours is too thick, you can always add a little water to get to the consistency you like.


Grab your 4 ounces of goat cheese.


Take the polenta off the heat and stir in the goat cheese. It should melt down and meld easily.

Season with salt and pepper to taste.


Pour mixture into a 8 x 8 pan and refrigerate.


Once cooled, it will solidify and be easy to cut. Flip your pan over and the polenta should come out easily.


Cut into strips.


And then cut in half.


Heat a skillet on high and add a good layer of olive oil and butter to fry up the polenta.

 Make sure you don't go easy on the oil and butter because the cheese has a tendency to burn easily and stick to the pan.


When you're done, the fries will be crispy on the outside, soft and gooey on the inside.

Are they good? Let's just say there were no leftovers in my house...


Try out this recipe and let me know what you think! How did they come out for you?